Fuselage & Bomb Assembly
The big event for the day was getting the fuselage halves joined.
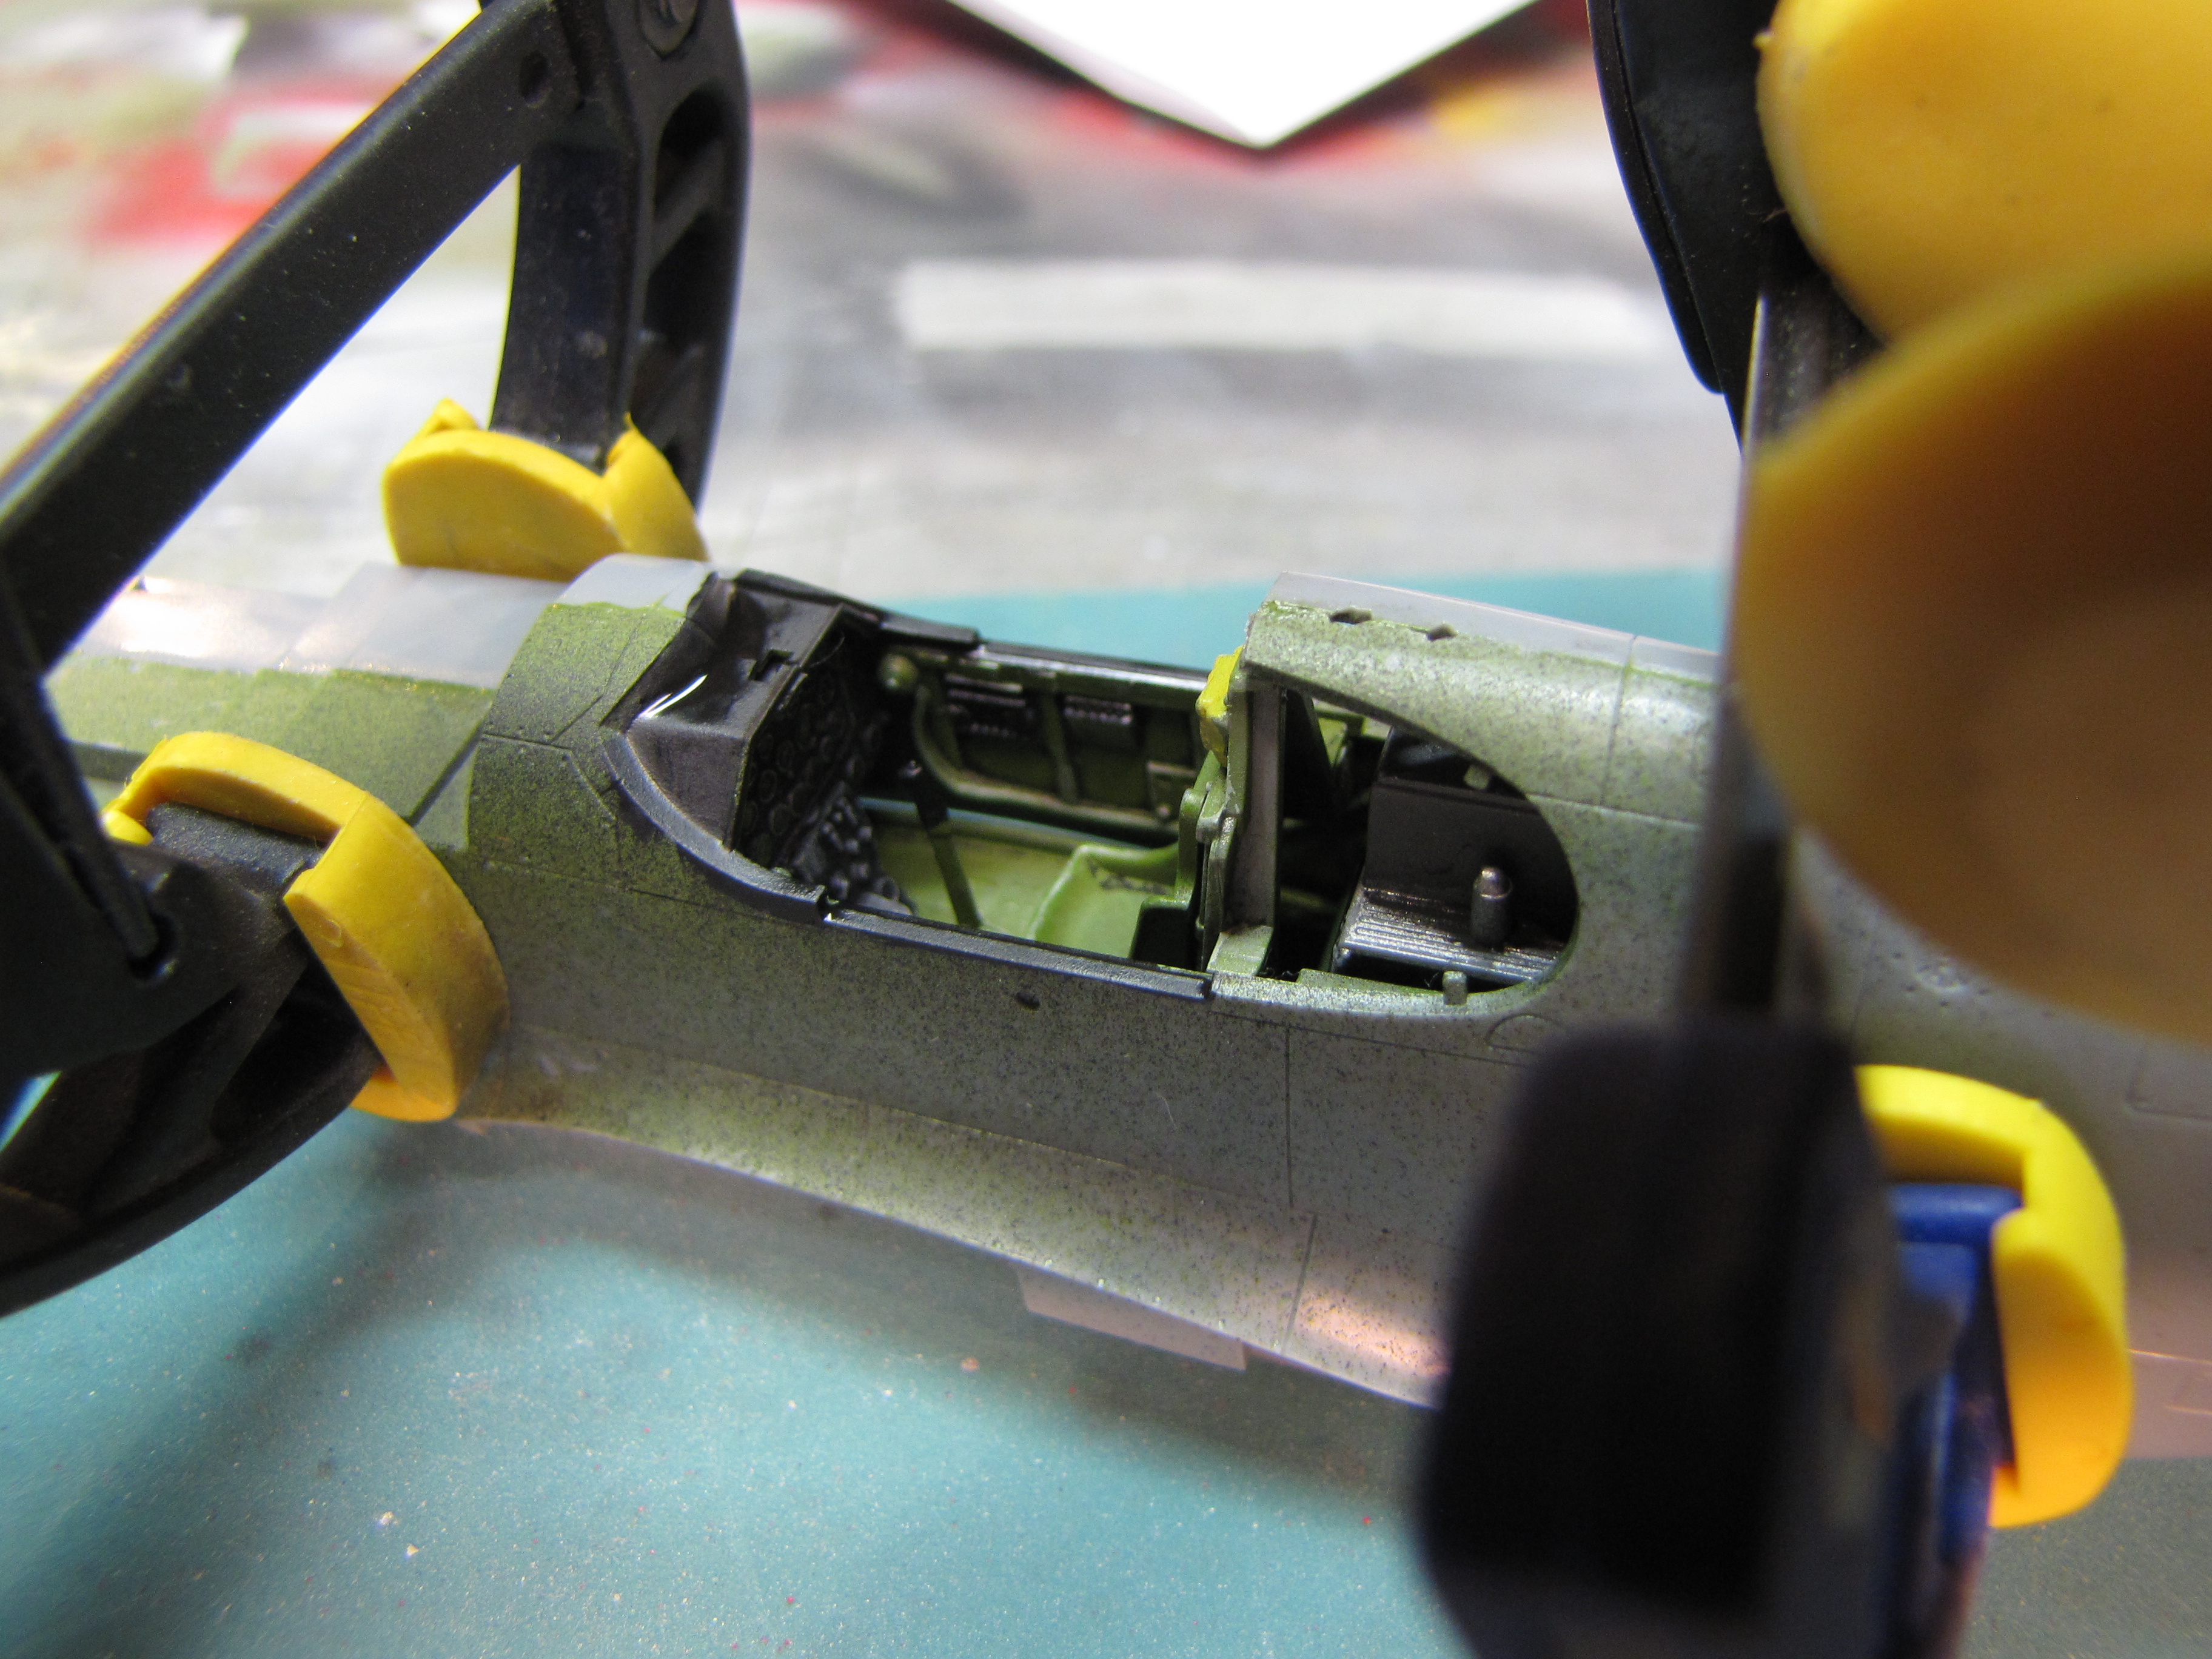
Everything lined up well, but there was a slight warp in the halves. So clamping was necessary.
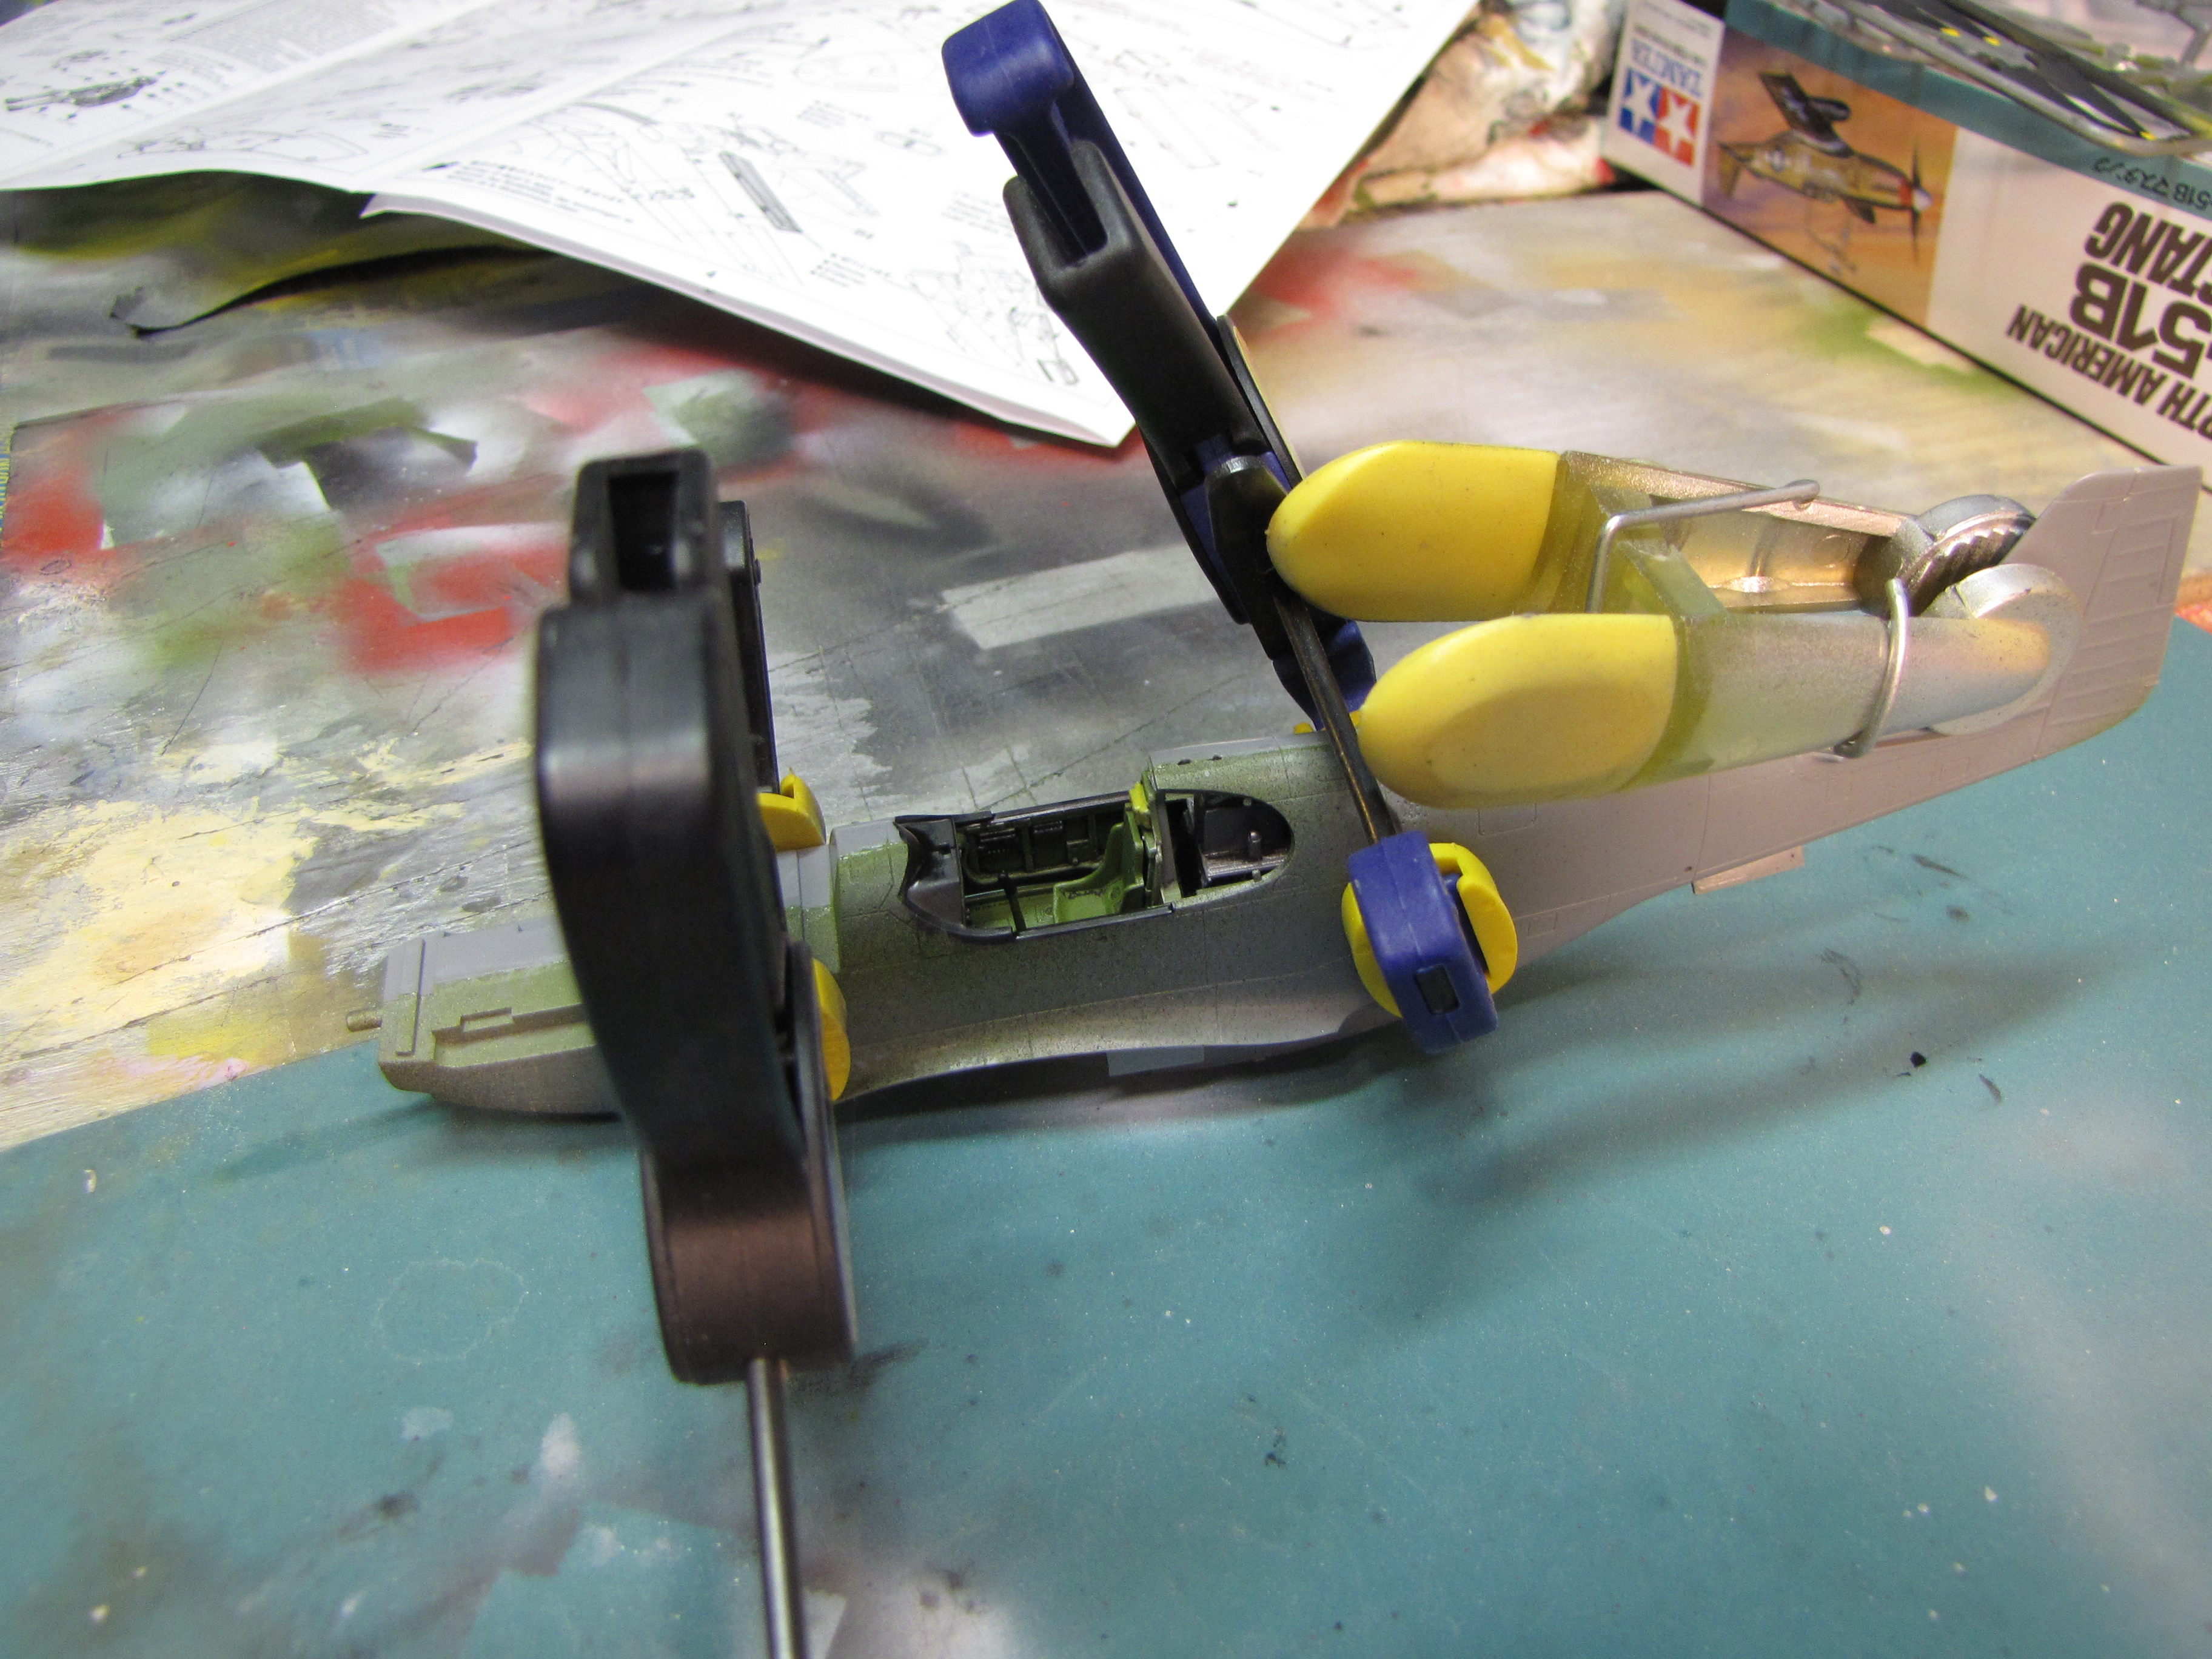 Actually I had to add one more clamp after this photo was taken.
My time was limited tonight, so the only other thing I got to was assembling the 500 lb bombs that will be under the wings.
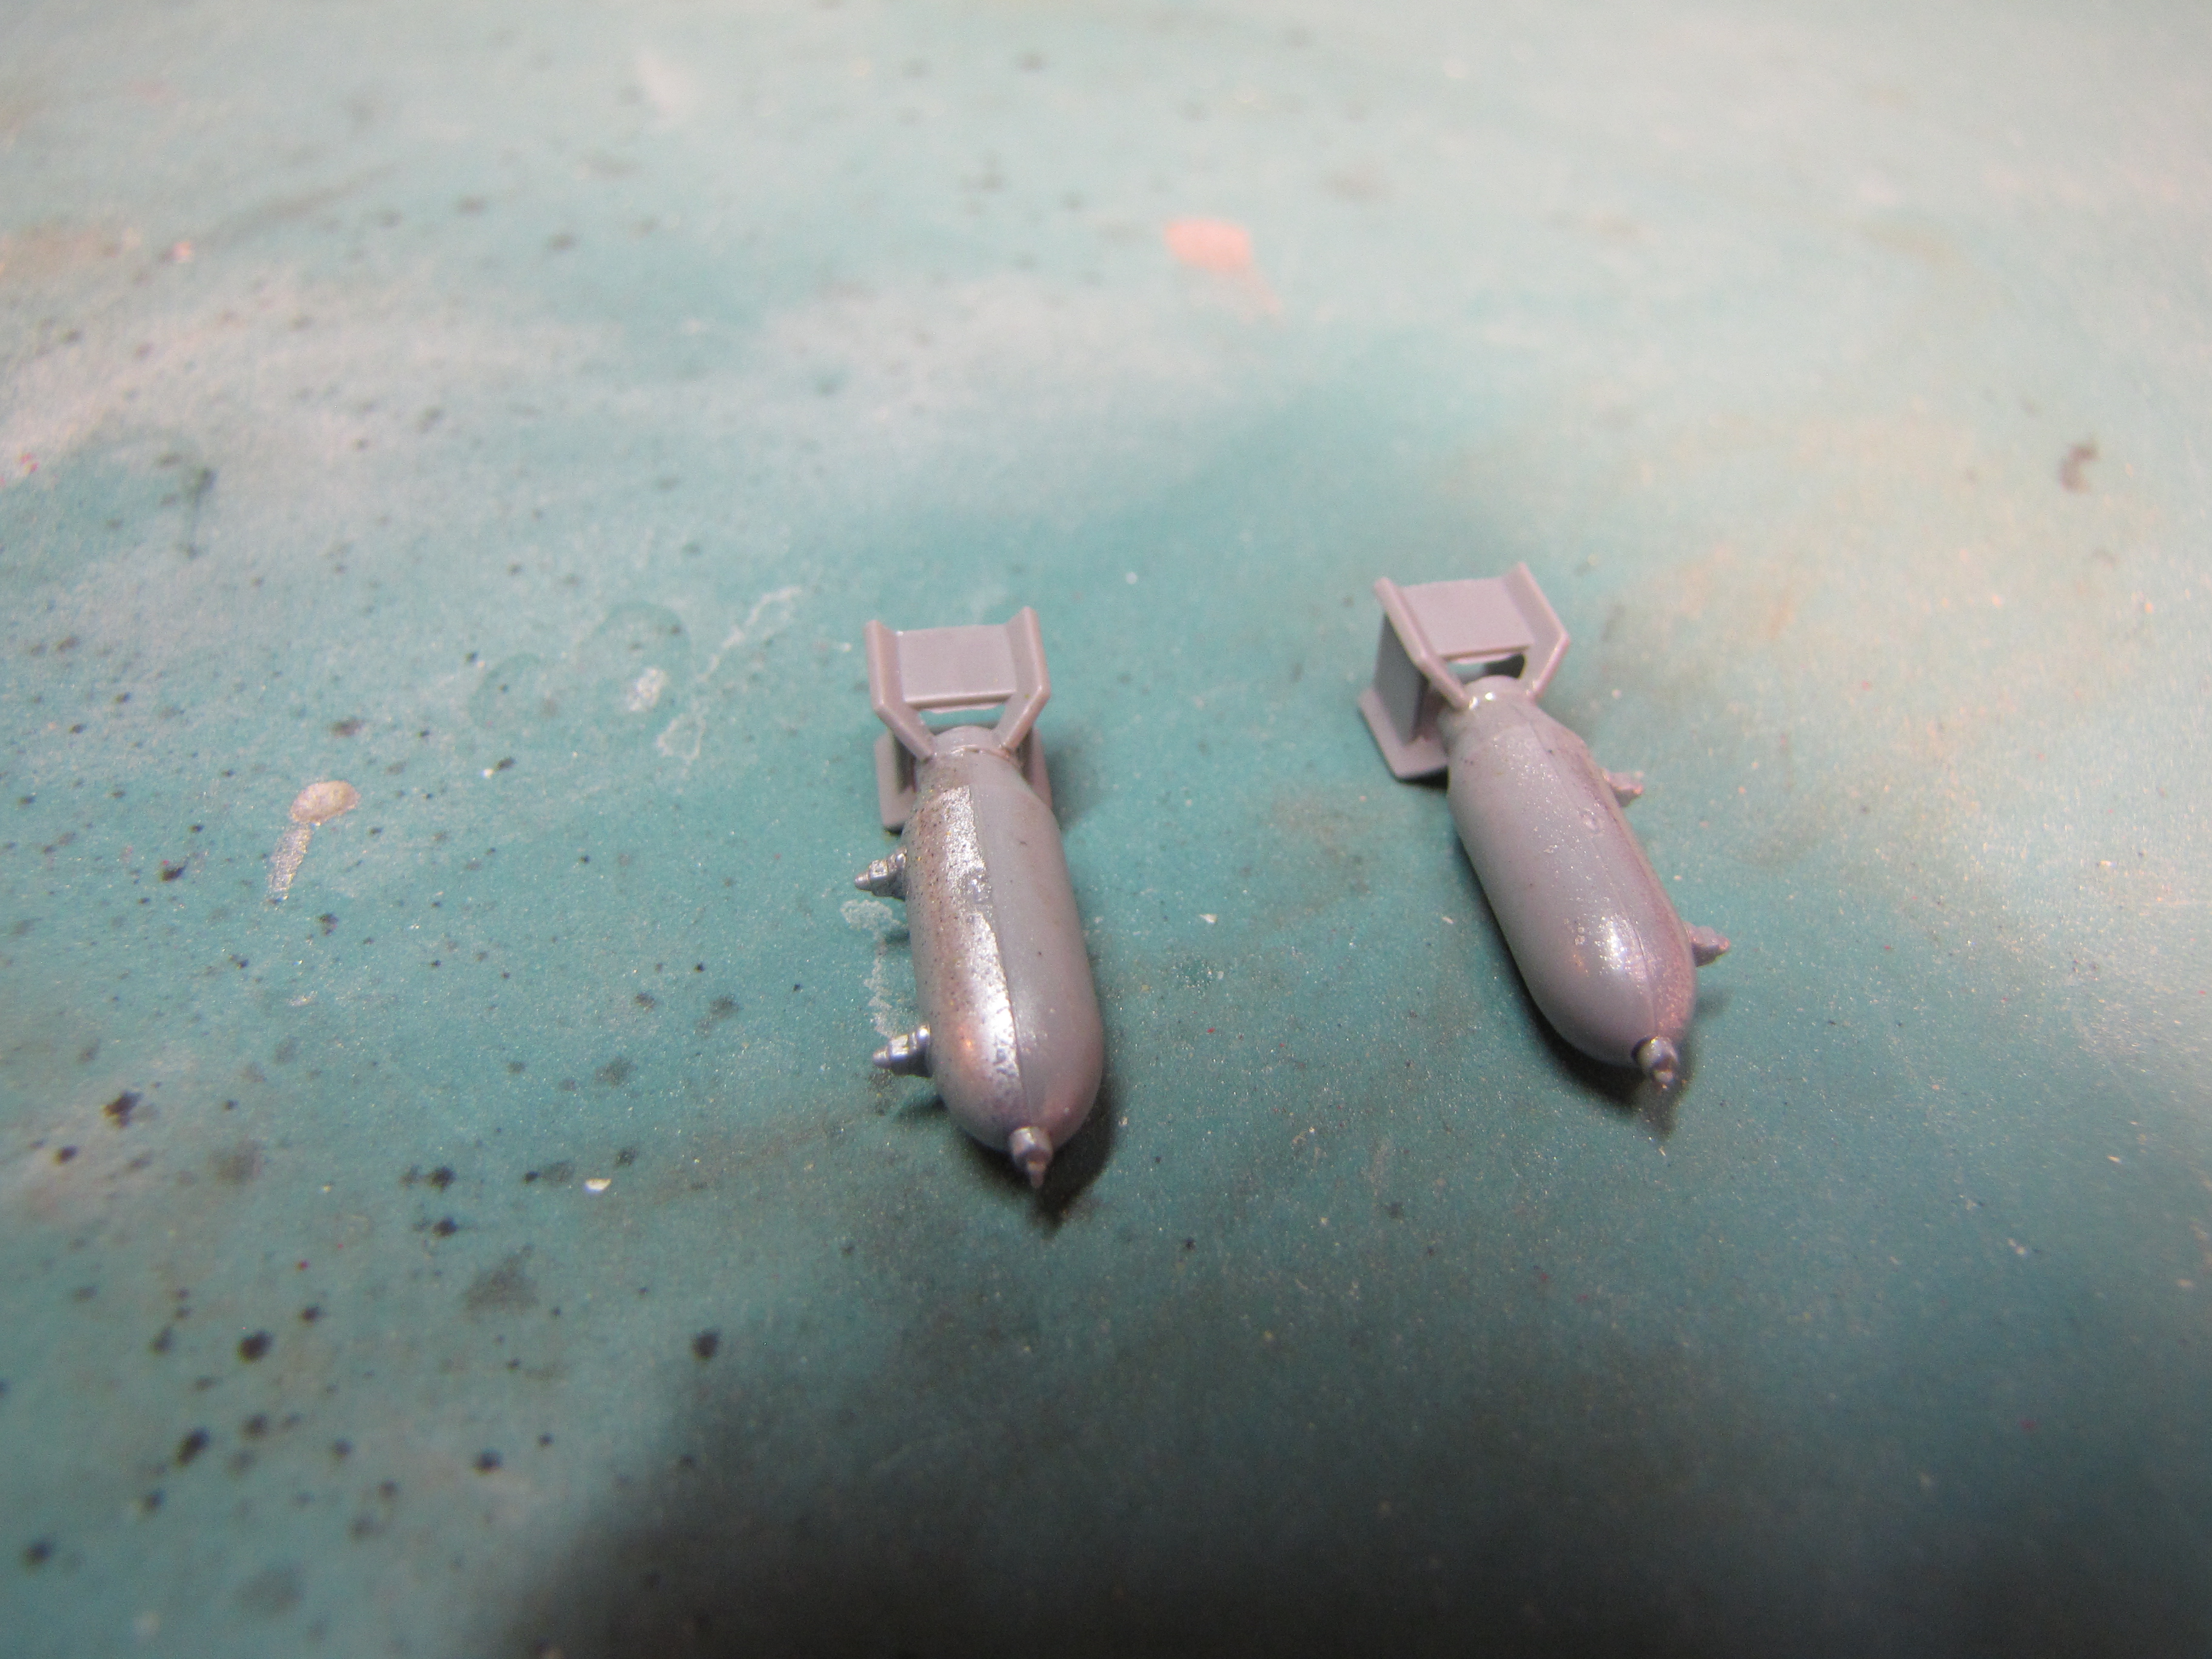 I’ll have to do some seam clean up when they’re all dry. This kit comes with a choice of the bombs or 108 gallon paper drop tanks. Since the tanks weren’t used in China where this Mustang was based I went with the bombs.
So short session tonight. I expect the fuselage will need a little tidying up tomorrow.

This is something I find interesting when I think of how I modeled as a teen. A lot of this comes down to several things. Stuff I didn’t have, like clamps (rubber bands often filled in), stuff they didn’t make (if I did have clamps they would have been metal C clamps) and stuff I did have, more free time.
It’s also fun to read about how much research informs a project. Scaling color is something that never occurred to me. A black wash was something I did rarely, only on special builds. Fogged clear parts was the bane of my existence and one major reason I did more armor and vehicles than planes.
Being able to buy the tools I want Is definitely a big difference in modeling now vs as a kid. There’s still choices to be made sometimes about specialized gadgets I might only use rarely, but its a whole different economy than when I was 12!
Clear parts were a big part of the adult learning curve. I never mastered them as a kid, and when I started up again 20 years again I made a real effort to figure out what I was doing wrong. At this point I really enjoy doing them, I guess its the whole hard earned skill thing.