
Clean Up, Details, Canopy, Painting
I finally had time for a couple of longer sessions today. So a lot got done!
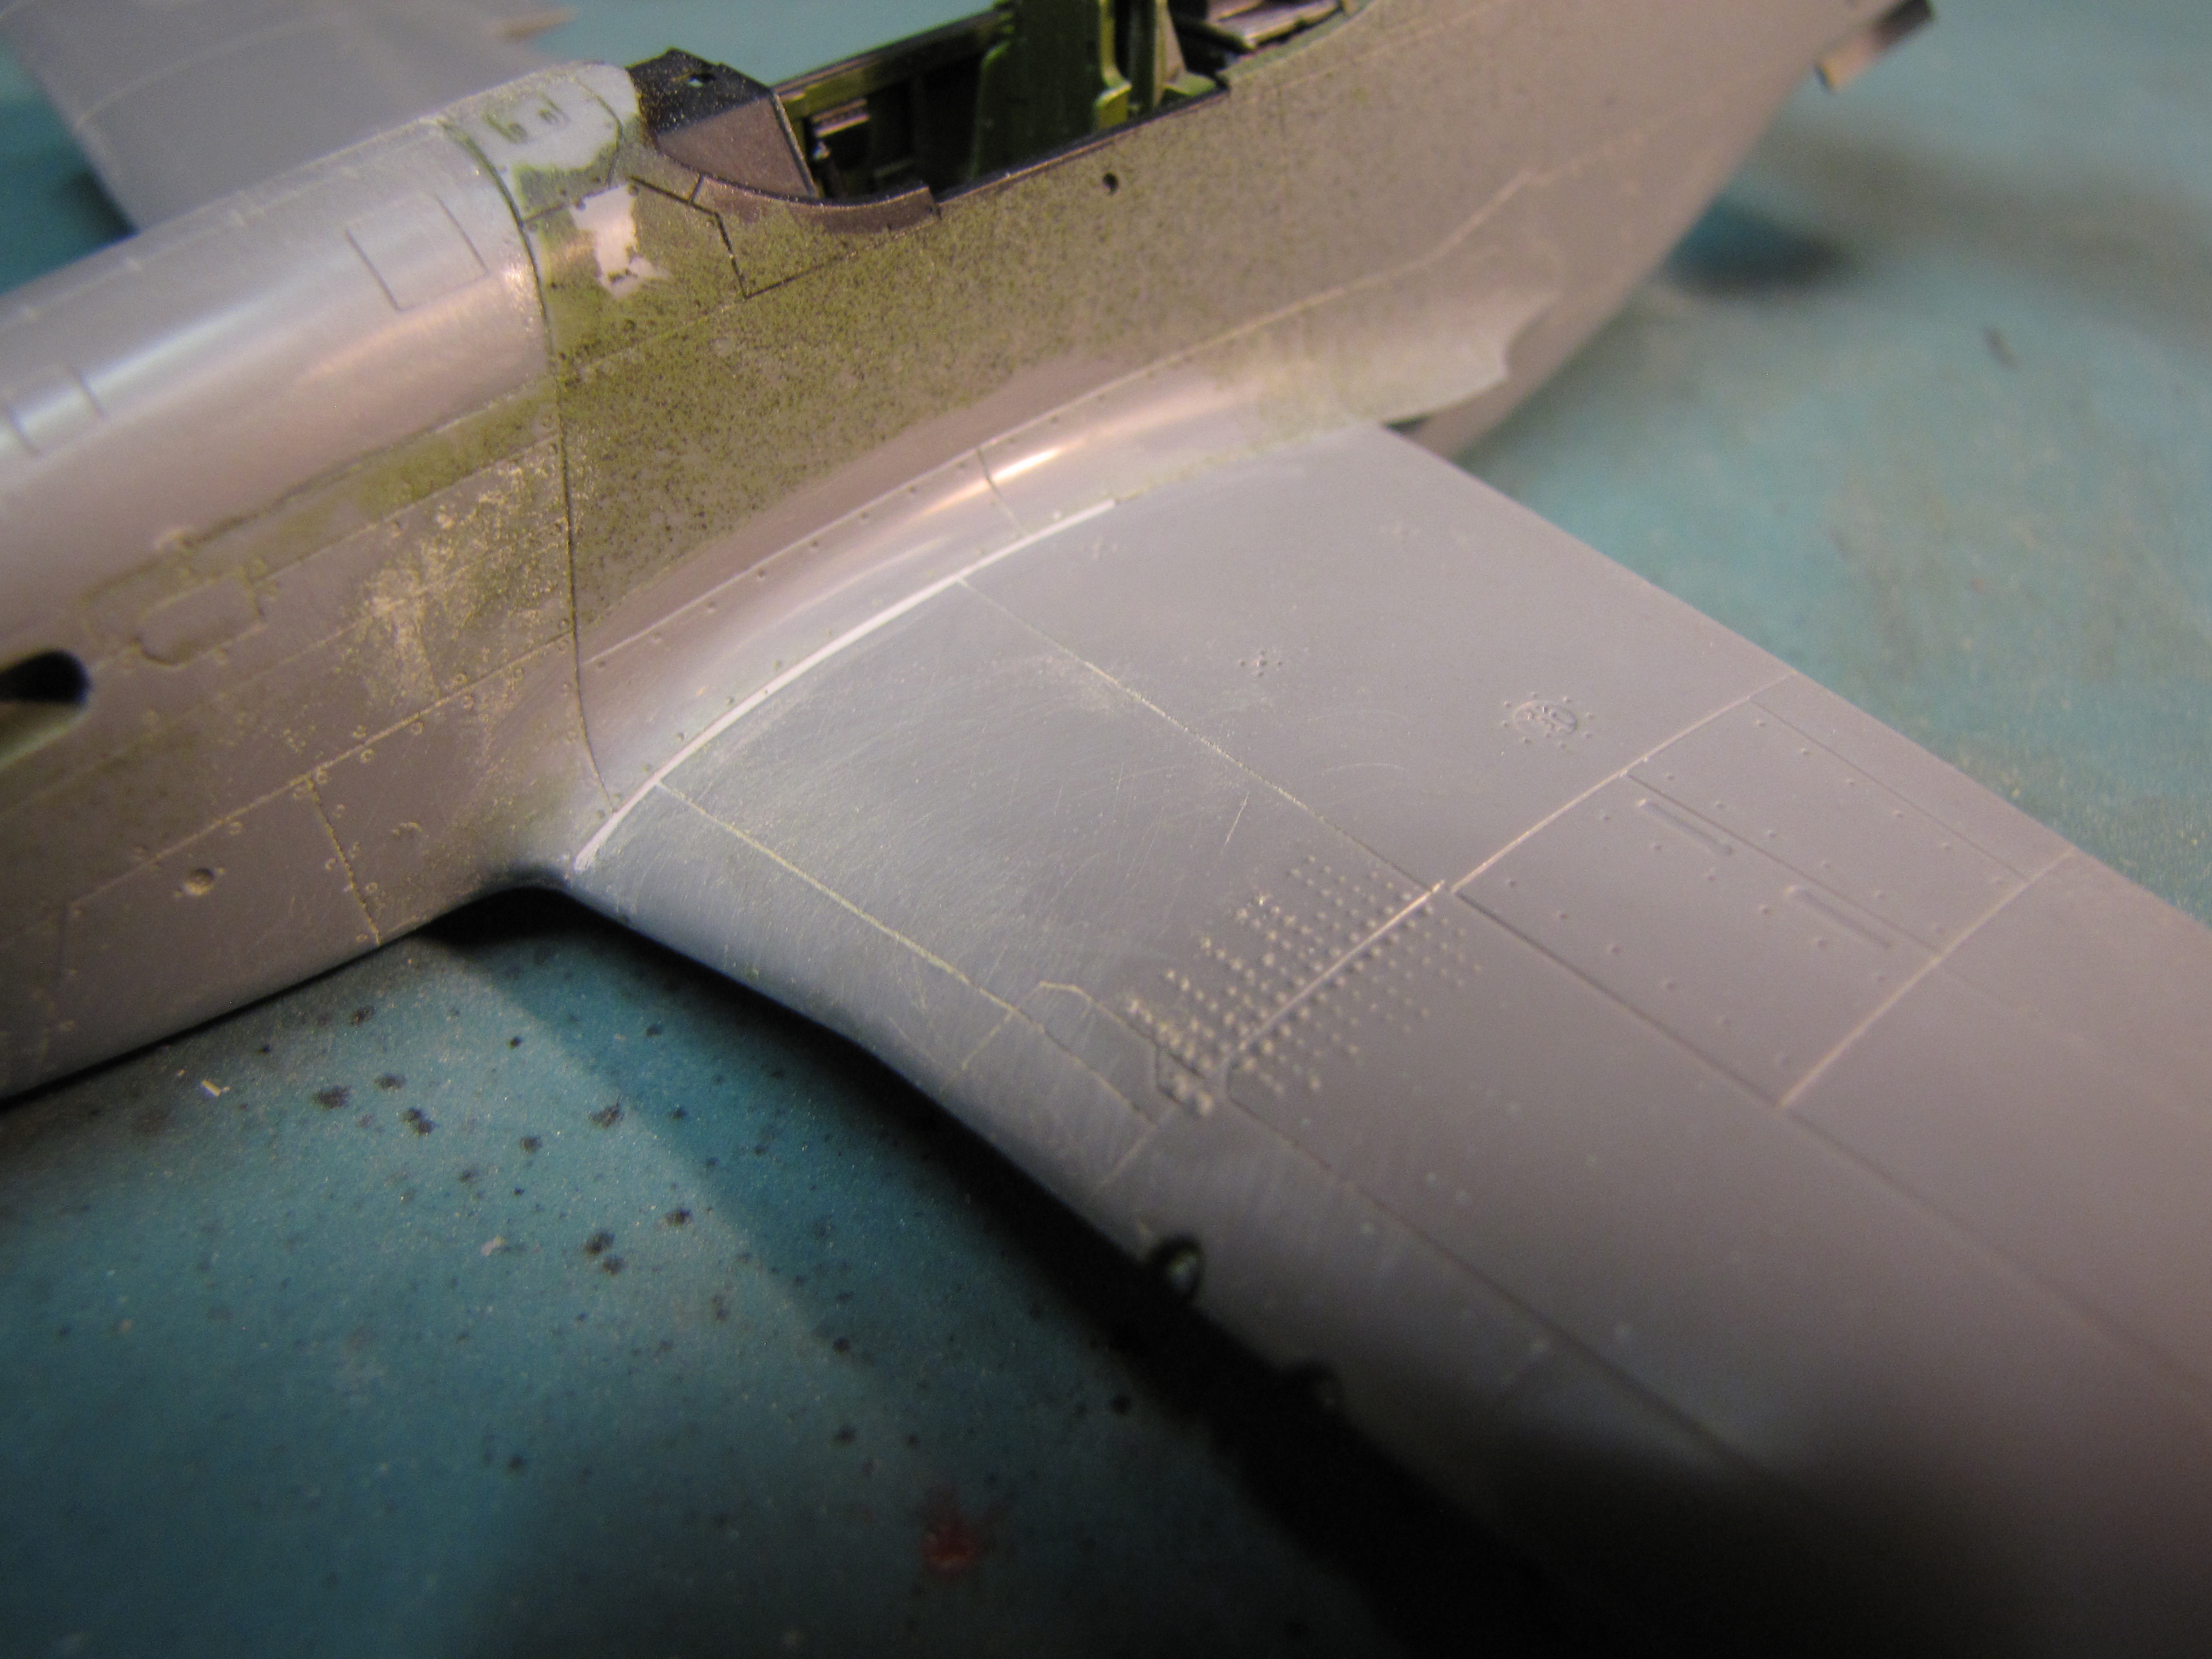
First was a lot of clean up. I used a Q-Tip soaked in “Mr Surfacer Thinner” to tidy up that seam at the wing root. Then a lot of sanding on all the other seams until everything looked pretty smooth to me. Often, flaws will become apparent once I get a coat of paint on everything. If there are problems I’ll address them when the time comes, but for now everything looks good.
That means many details like the various inlet openings, turbo exhaust gate, bomb racks, and gun sight were all added.

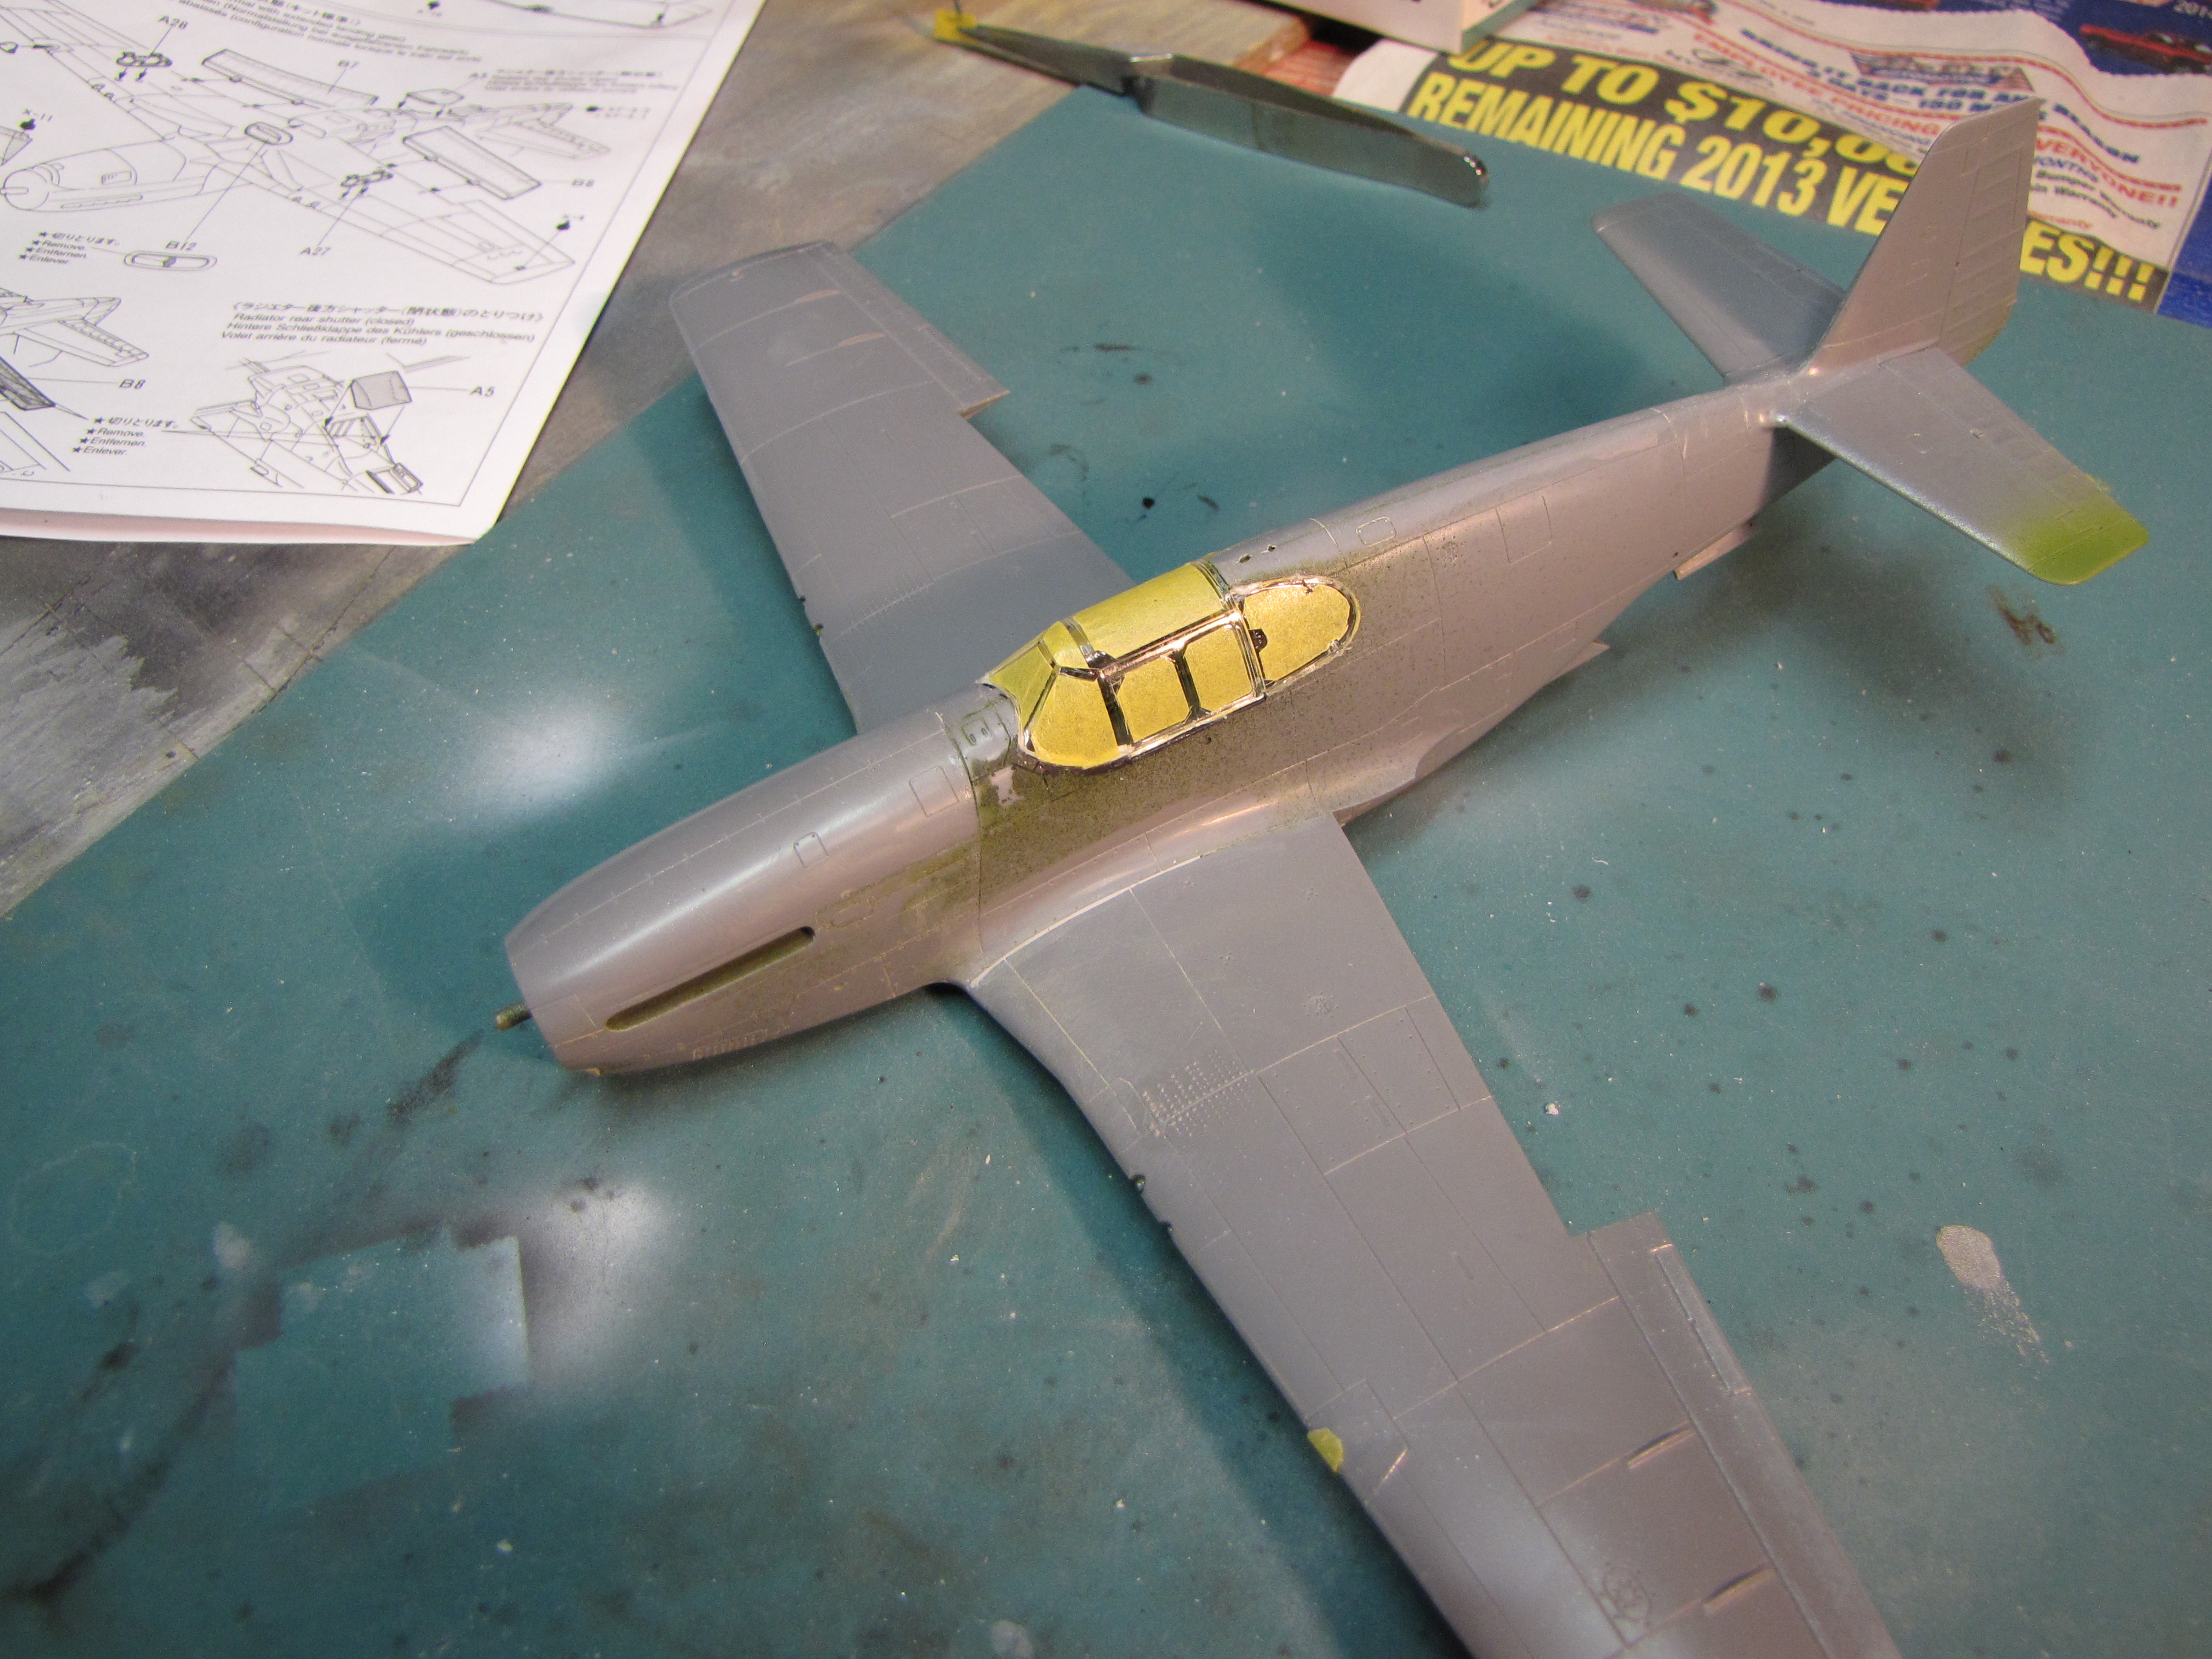
The last bit of assembly is the canopies themselves. Now that everything is nice and shiny I mask them. This means more of Tamiya’s Kabuki masking tape. I burnish a piece onto the clear part and then cut along the frame ridge, obviously this is a job for a new blade! This can be pretty tedious on planes with a lot more glass; but I’ve tried pre-cut masks and actually find lining up all the parts even more troublesome than just cutting them myself. When all is done, the parts I want clear are masked and the frames are exposed for painting. I then glue the clear parts in place with plenty of white glue and clean off the excess with a damp Q-Tip.
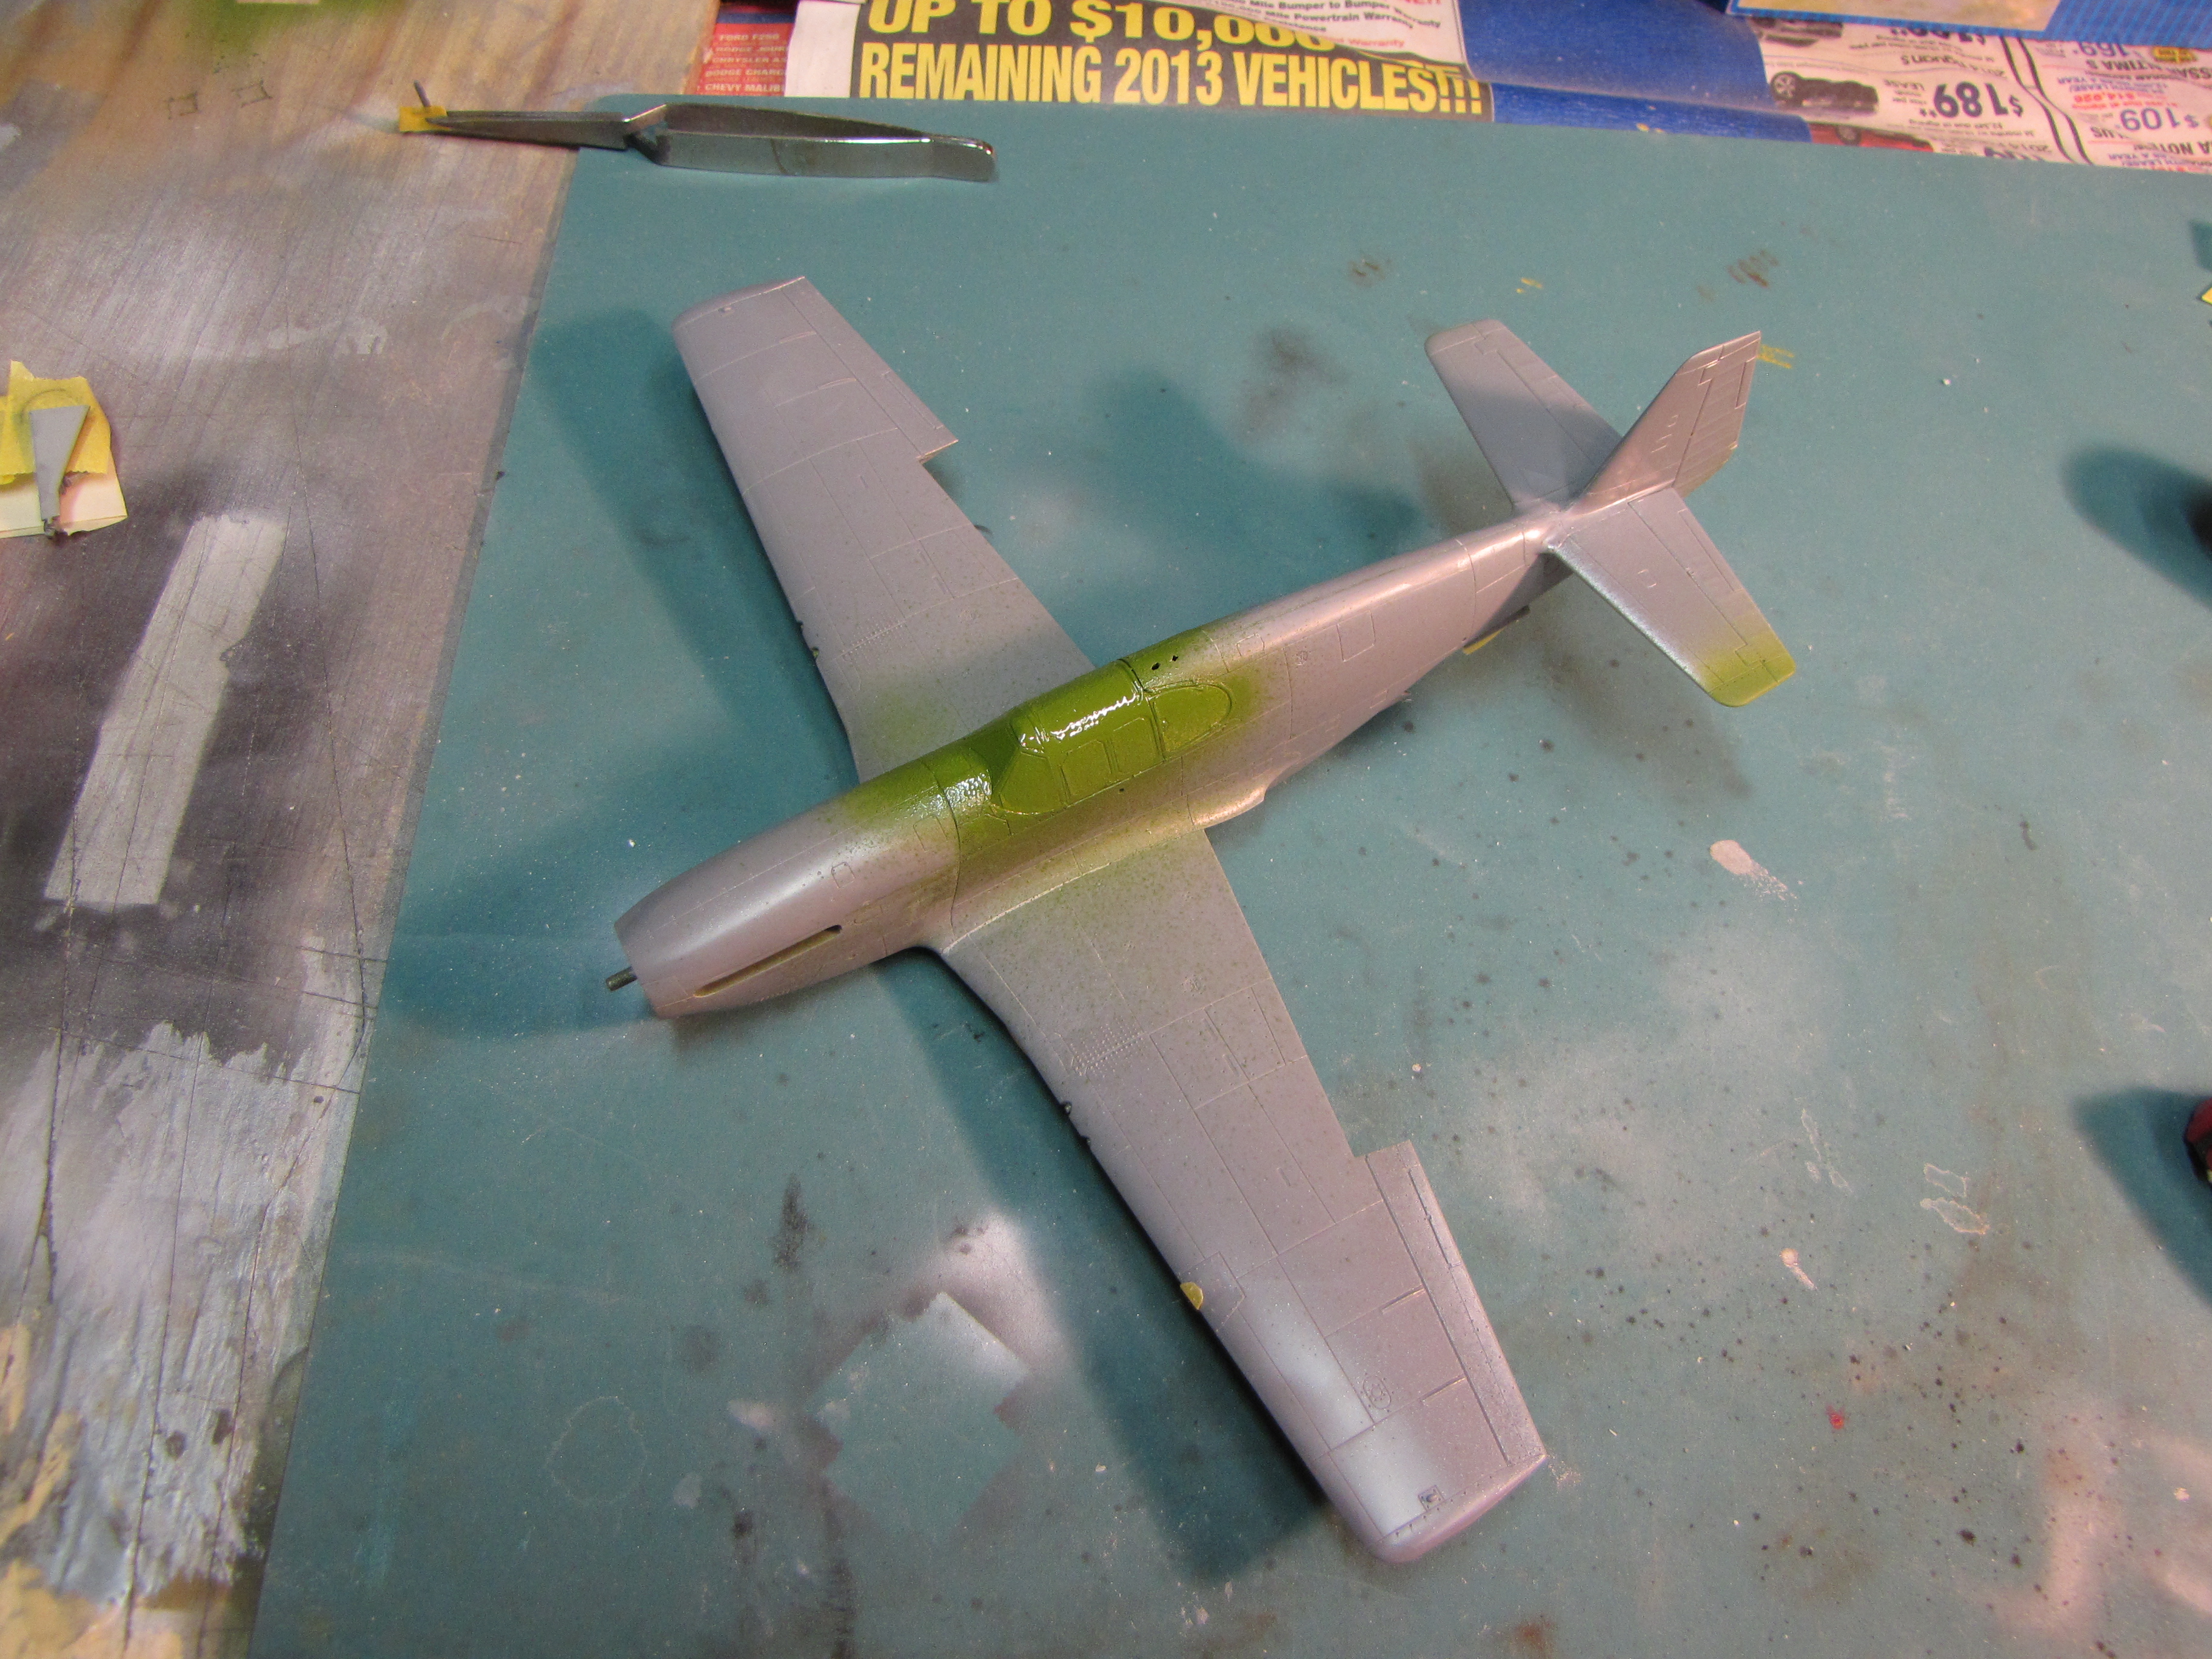
After letting things dry for a few hours I come back to paint. Well actually, first step is masking off whatever is still open. In this case that means landing gear bays. I then spray Interior Green on the canopy frames, just in case anyone is eagle eyed enough later to notice what’s going on inside the cockpit! Then all lower surfaces get covered with my scale lightened Neutral Grey.
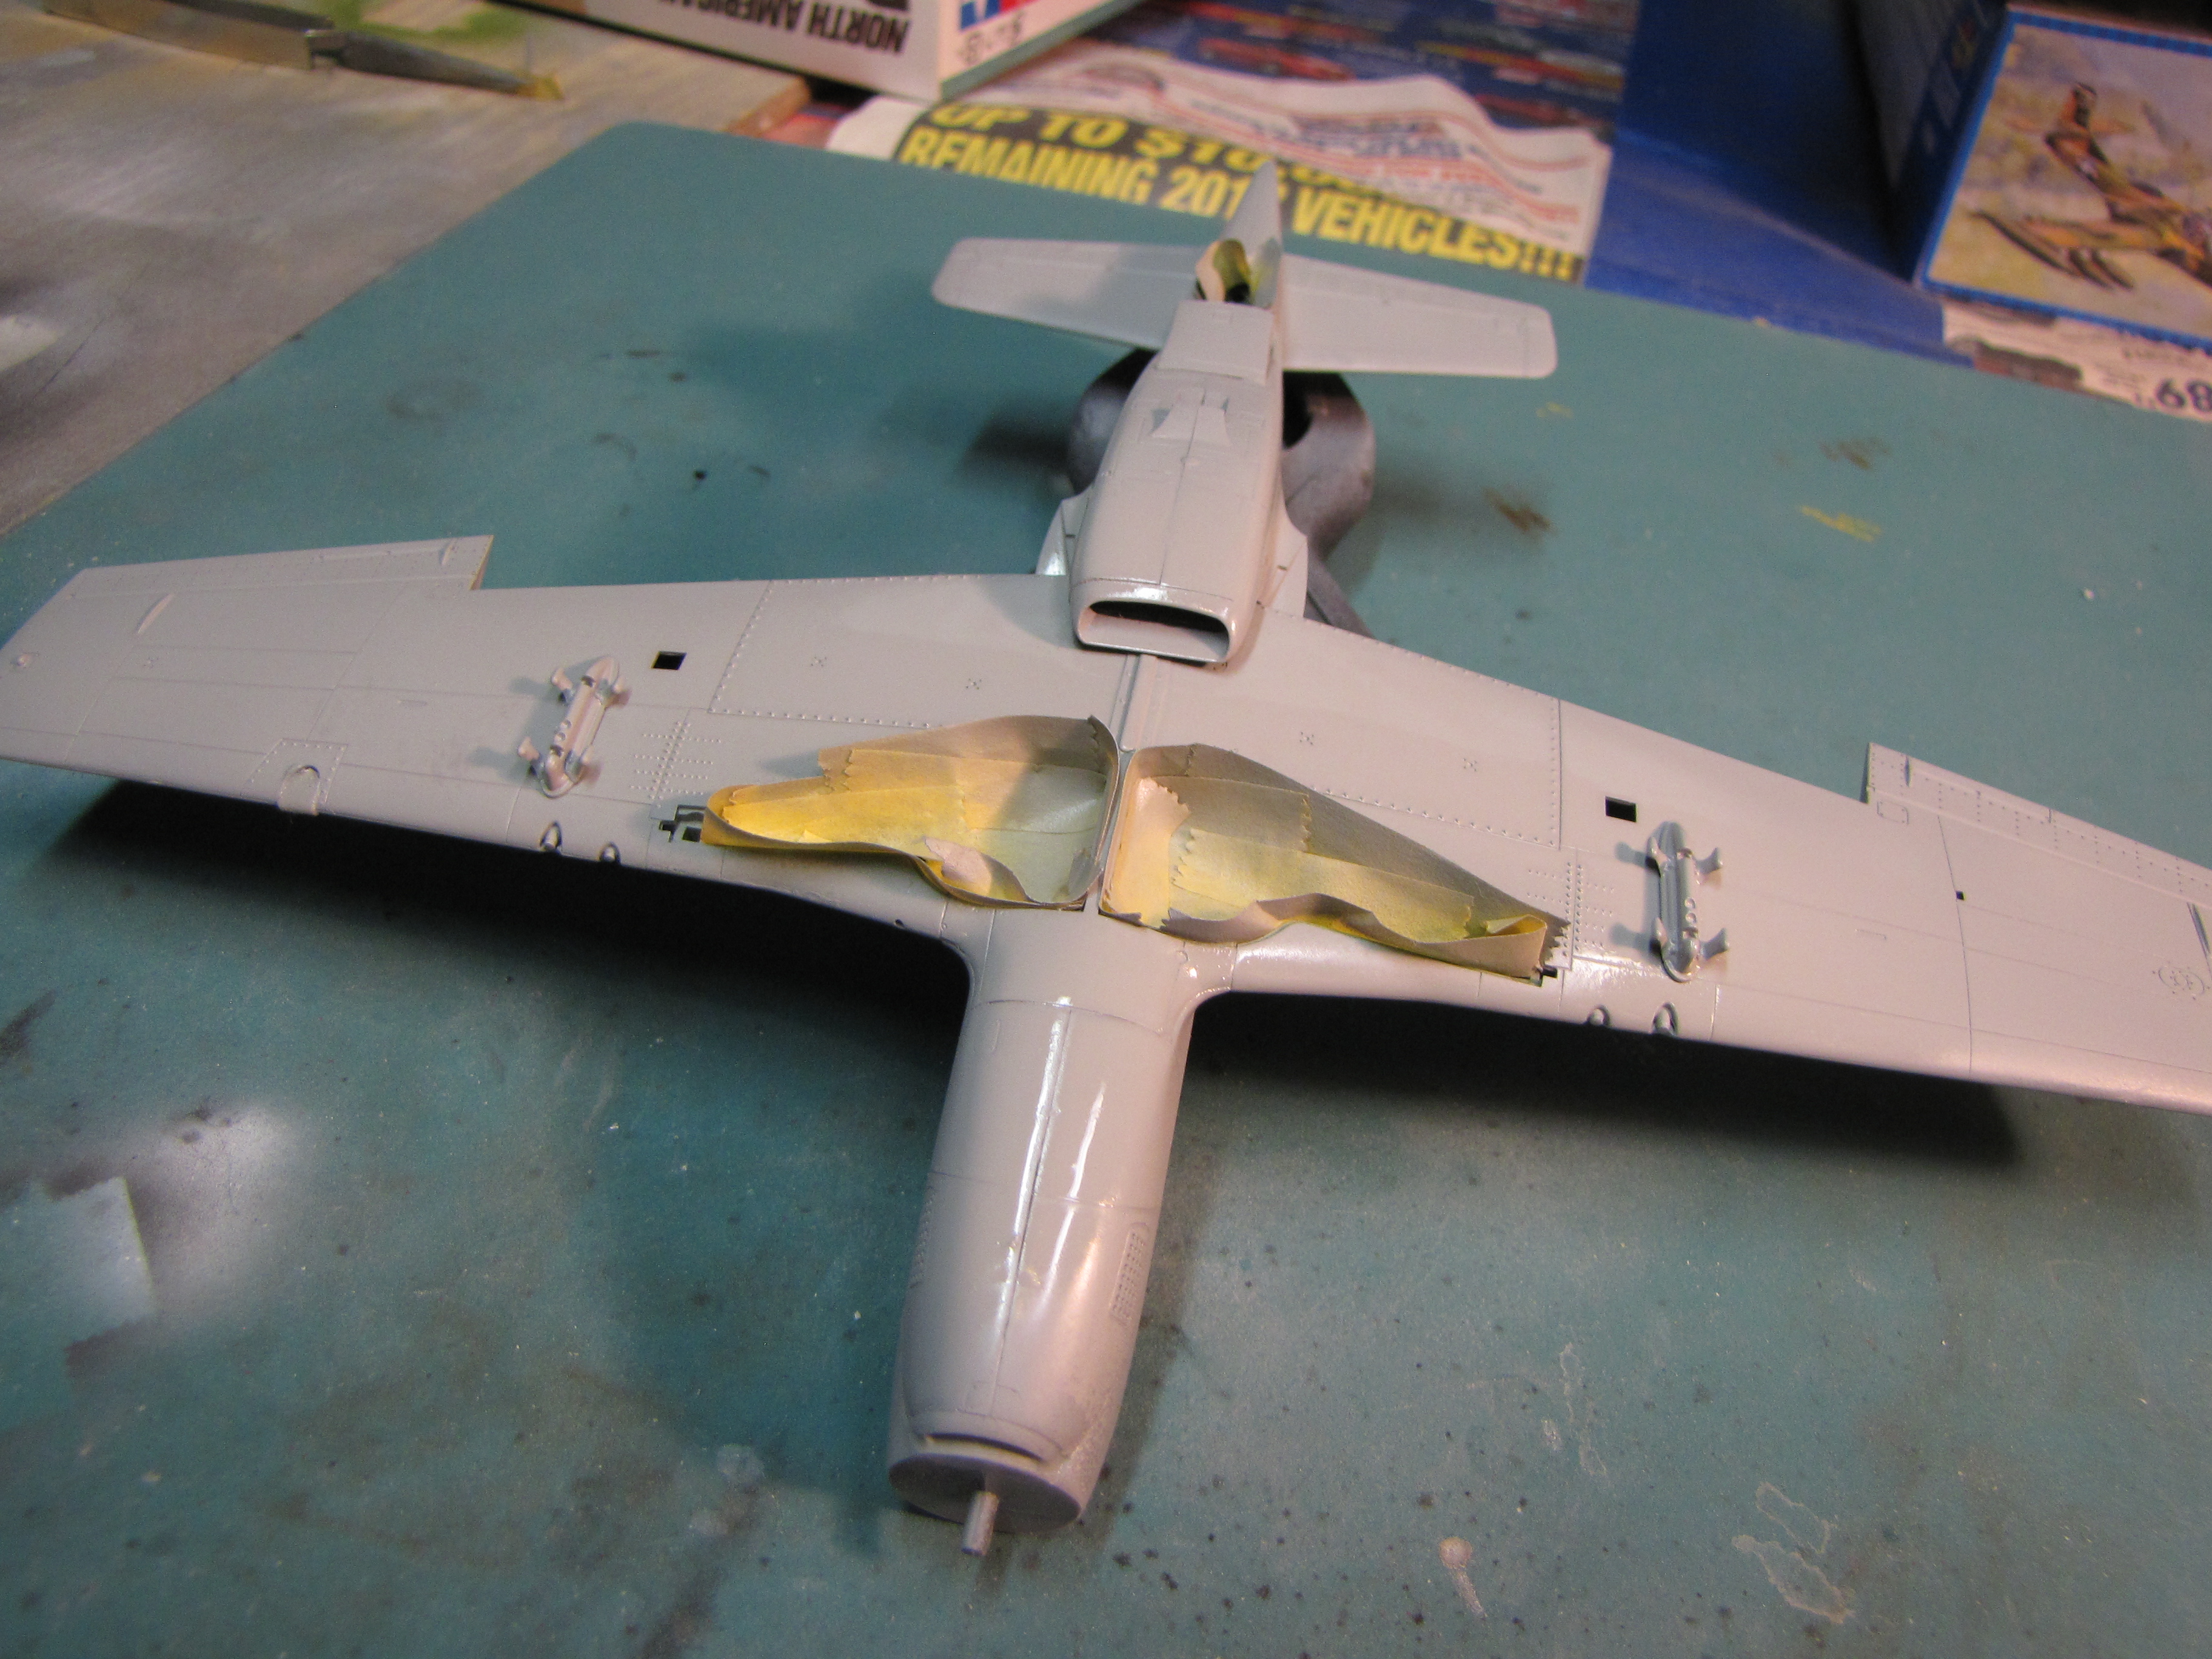
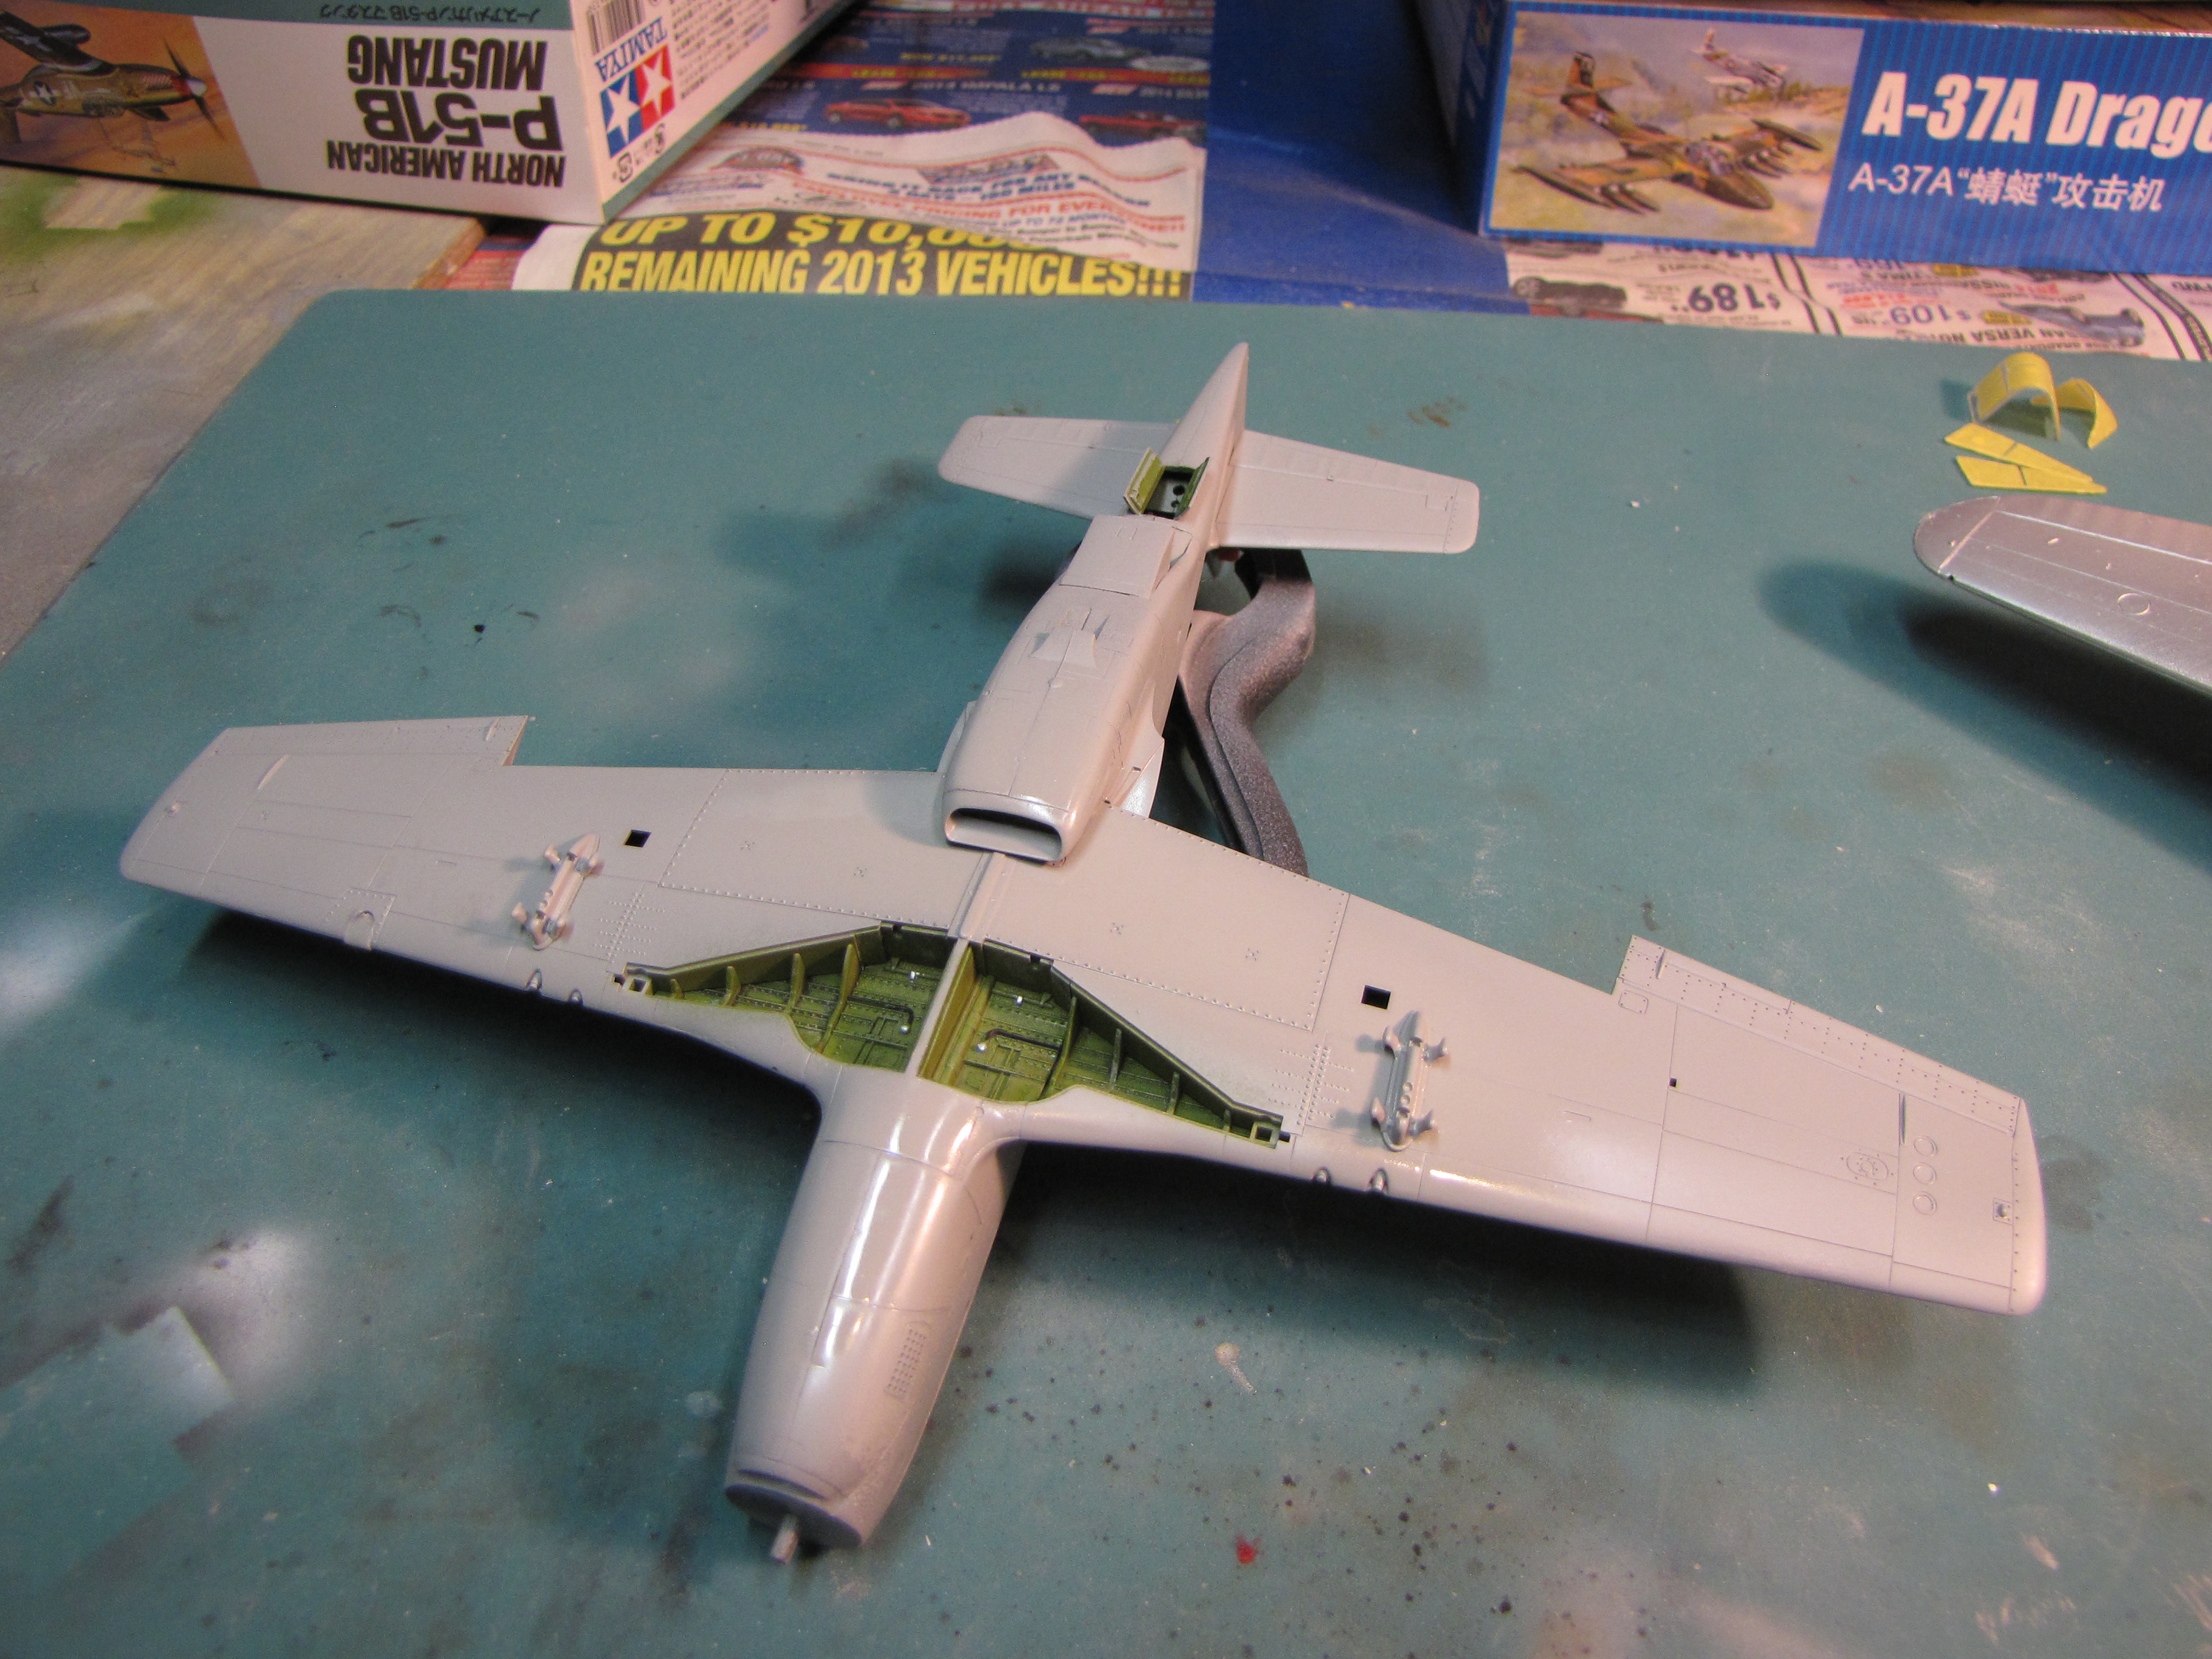 The bottom has come out nicely! I won’t have to do any touch up here.
