Getting Started
For the next few weeks I’ll be following a different posting schedule. I will follow my daily model building.
Join with me as I walk through a simple build. After the jump, a look at the project and kit.
My passion for modeling comes from my passion for history, not the other way around. On a practical level that only means I would normally rather talk about what I’m building than how I’m doing it. But obviously the modeling is a significant investment of time, so I’m interested enough that I thought it would be fun to walk through my own process for building.

Modelers make a lot of different decisions on how they value detail and quality of their builds, vs their need to see things complete. I think I’m pretty middle of the road in this regard. I don’t spend a lot of time super-detailing or doing extensive improvements or modifications to a base kit; but I will try to do the best I can with what’s in the box. When I’m working full blast I complete a kit in about a month (there’s a lot of variables on kit complexity! I’ll say the range is 3-10 weeks, with 4-5 being average) and I usually work on two kits at a time. So I hope to finish two builds a month, but that often slips a lot. And of course, life often interferes…

The bulk of this kit is on two sprues of styrene plastic. There is also one much smaller sprue of clear parts.
I’ll be using an after market decal sheet by AeroMaster to provide markings for Major John Herbst’s “Tommy’s Dad”.
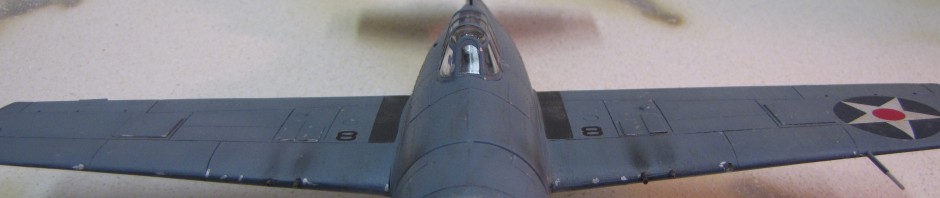
For this build I have selected Tamiya’s excellent P-51B Mustang. This is a very simple kit, sometimes called “shake and bake” because the engineering and fit are nearly perfect. But I don’t want to fill a lot of posts with complex engineering and fit problems, I just want to show my basic process. I even just built another of this kit, just to be sure! For the same reason, I’ve chosen the simplest marking scheme imaginable. As far as posting schedule I can only say I typically get the most done Sunday, Monday, Tuesday; a little on Wednesday, Thursday, Saturday; and usually nothing on Friday. I hope to post every day I get anything done. (I hope!) If all goes well this will take about three weeks.
A couple notes on supplies and materials. I use Iwata Revolution airbrushes; a CR for most general purpose painting and a BR for fine detail work. This is a recent change for me, but I’m happy with my new tools. I use mostly Model Master Enamel paints; this is an extensive line with a lot of specialized colors that usually lets me start at or near official specs. I like the smooth coverage and opacity I get with enamels, and I mostly stick to the one brand for ease of mixing. I’m a huge fan of Tamiya masking tape. I don’t know what voodoo was involved in making such a perfect product; it is flexible, thin, and has an adhesive that holds exactly when you want it to and releases exactly when you want it to. I also make regular use of a knife (No.11 Pro Edge), Xuron sprue nippers, tweezers (straight and locking), toothpicks, cotton swabs, size 0 paint brushes and sanding sticks (just like the disposable nail files except they say “Squadron” on them. I’m sure I pay extra for that…)
